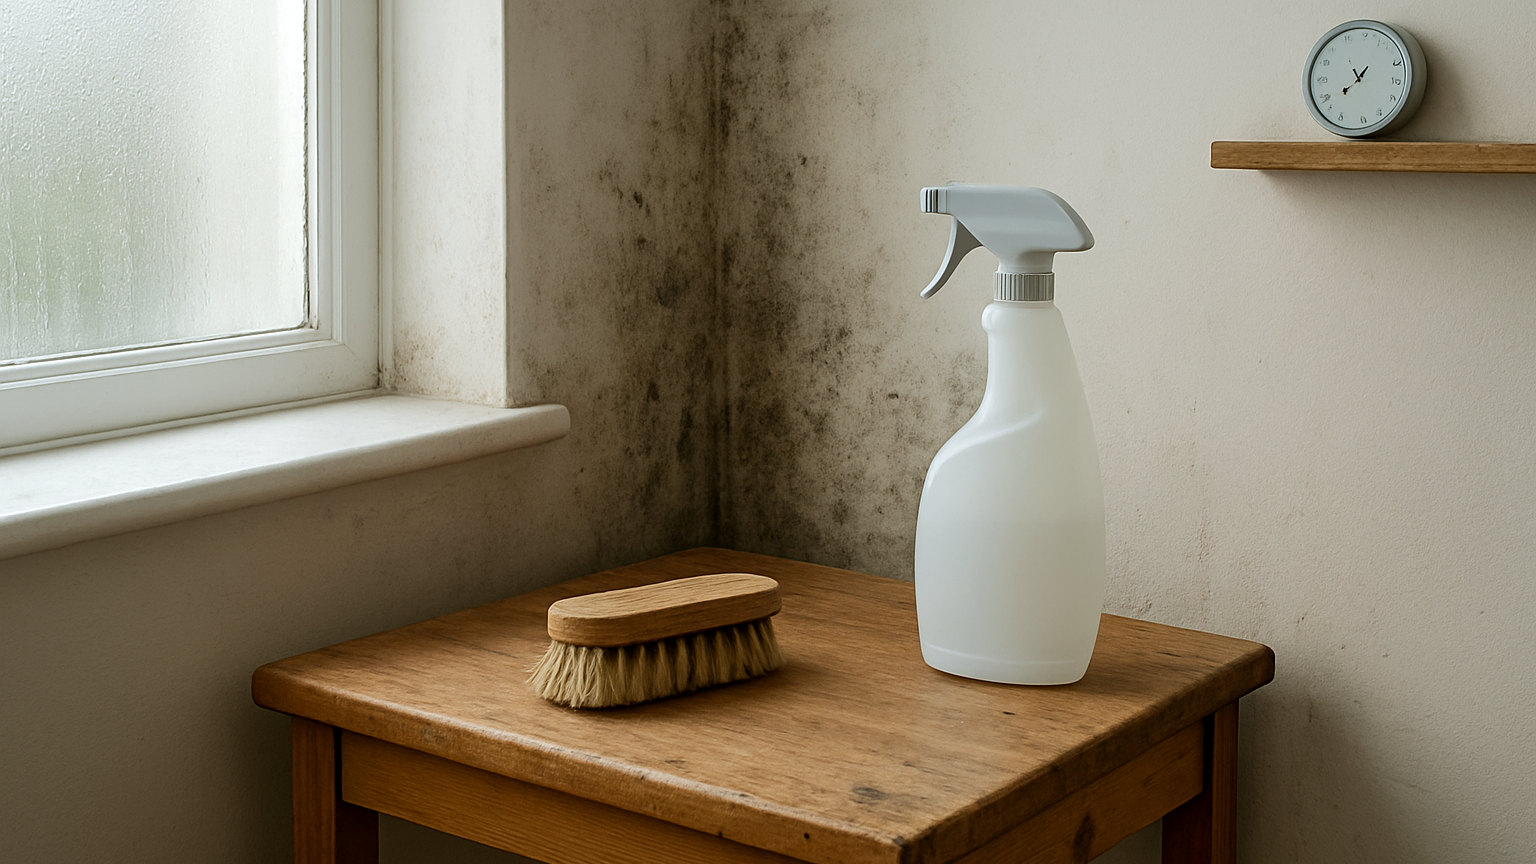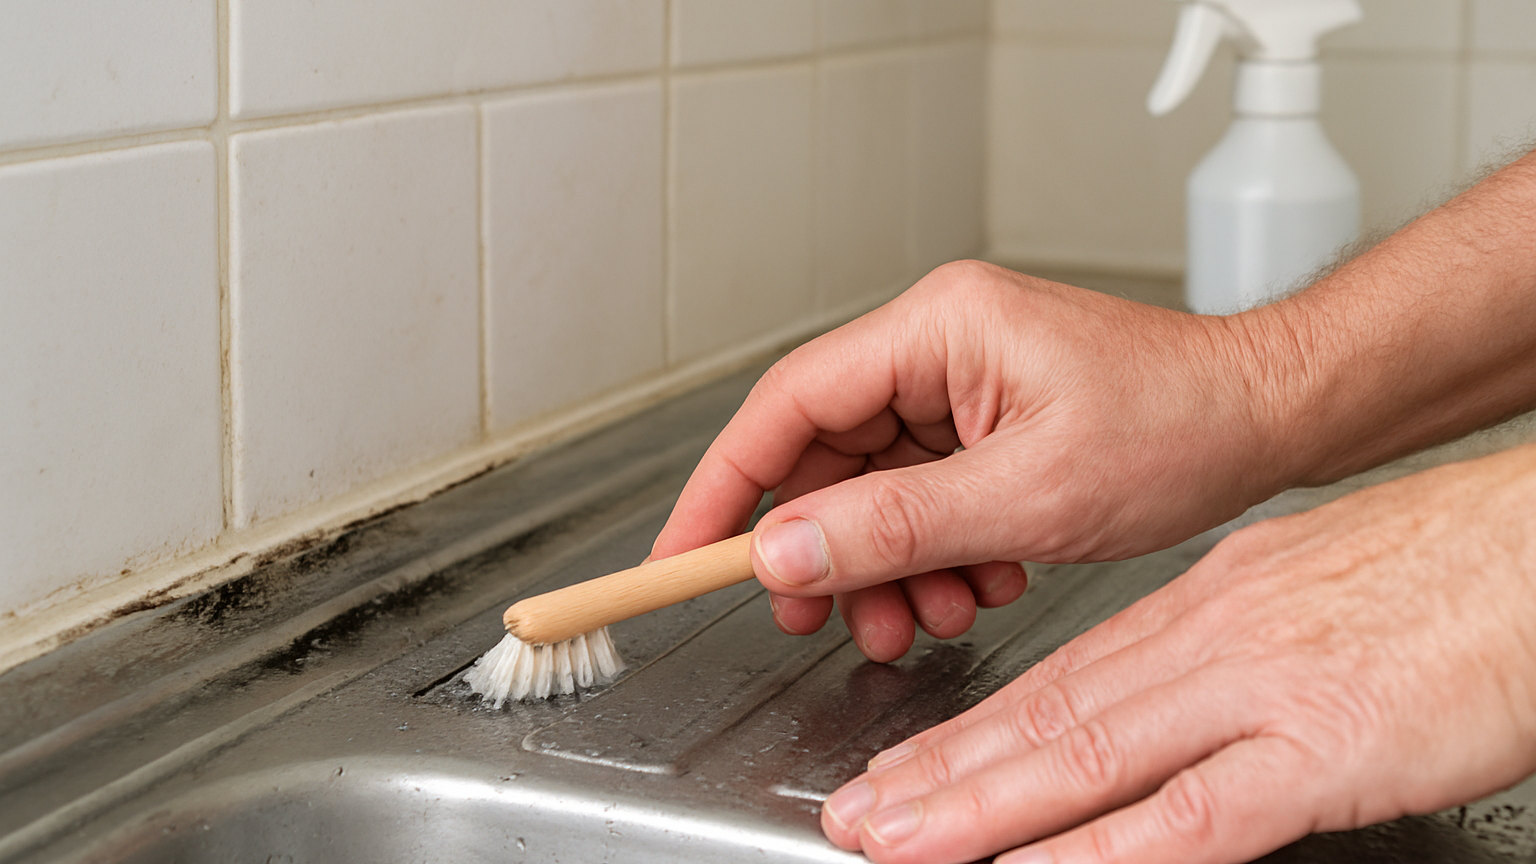
Black spotting along the edge of a bath or shower is the most common mould problem in a house, and the important question is whether the growth is on the sealant or in it. Surface growth cleans off and stays off. Growth inside the silicone cannot be reached by anything applied to the outside, and no product will remove it permanently.
How do you tell the difference?
Clean the area with a bleach based cleaner and let it dry. If the black disappears entirely, it was on the surface. If it lightens to grey but a shadow remains in the same pattern, the growth is inside the silicone.
The other clue is timing. Surface growth stays away for months after a proper clean; growth within the sealant reappears within a few weeks.
What is the bleach paper method?
The most effective home treatment for surface growth on sealant and grout.
- Ventilate the room thoroughly and wear gloves.
- Soak strips of kitchen paper in a bleach based mould cleaner or a dilute bleach solution.
- Lay the strips along the affected sealant or grout line and press them into contact.
- Leave them for a few hours, re-wetting if they start to dry.
- Remove, wipe, and rinse the area thoroughly with clean water.
- Dry the surface completely.
The extended contact time is what makes this work. Spraying and wiping after thirty seconds achieves very little on established growth.
What works on grout specifically?
Grout is porous, so it needs something that penetrates. A dedicated grout cleaner or a fungicidal wash is more effective than bleach, which mostly lightens the surface.
A paste of bicarbonate of soda worked into the joint with an old toothbrush lifts general discolouration. For stubborn black spotting, the bleach paper method applied along the grout line works well.
Once clean and dry, sealing the grout with a grout sealer makes future cleaning considerably easier and slows regrowth.
When does sealant need replacing?
When the black returns within a few weeks of a thorough clean, when the silicone has gone yellow and brittle, when it is lifting at the edges, or when water is getting behind it. At that point cleaning is maintenance on something that has failed.
Replacing a run of bath sealant is a straightforward afternoon job and the only permanent fix.
How do you replace it?
- Cut along both edges of the bead with a sharp blade and pull the old silicone away.
- Remove every trace of the old material with a silicone removal tool and a solvent remover.
- Clean the joint with a fungicidal wash and let it dry completely, which matters more than any other step.
- Mask both sides with tape for a clean line.
- Apply a mould resistant sanitary silicone in one continuous bead.
- Smooth it, remove the tape immediately, and leave it to cure for the stated time before the bath is used.
Filling the bath with water before applying the sealant, and leaving it full until the silicone has cured, prevents the bead splitting when the bath later flexes under weight.
Why does it keep happening?
Because the sealant stays wet. Water sits along the joint after every shower, and in a poorly ventilated bathroom it does not dry. Running the extractor for fifteen to twenty minutes after showering, squeegeeing the screen and wiping the sealant line all make a substantial difference.
What should not be used?
Abrasives, which damage both grout and silicone and give the growth more surface to hold. Acidic limescale removers alongside bleach, which produce chlorine gas. And steam cleaners on silicone, which soften and lift it.
How often should it be cleaned?
Wipe the sealant line dry after showering, which takes seconds and prevents most growth. Give it a proper clean monthly as part of the bathroom routine, before any spotting appears rather than after. Sealant that is cleaned before it looks like it needs it lasts several years longer than sealant that is rescued twice a year.